
What are the Most Common Mistakes Made in Camera Installation?
Mistakes made in security camera installation can negatively affect image quality, night vision, and recording reliability. We examine incorrect mounting height, camera angle, lens selection, DORI/PPM calculation, IR reflections, cabling, PoE, and recording errors with their technical solutions.
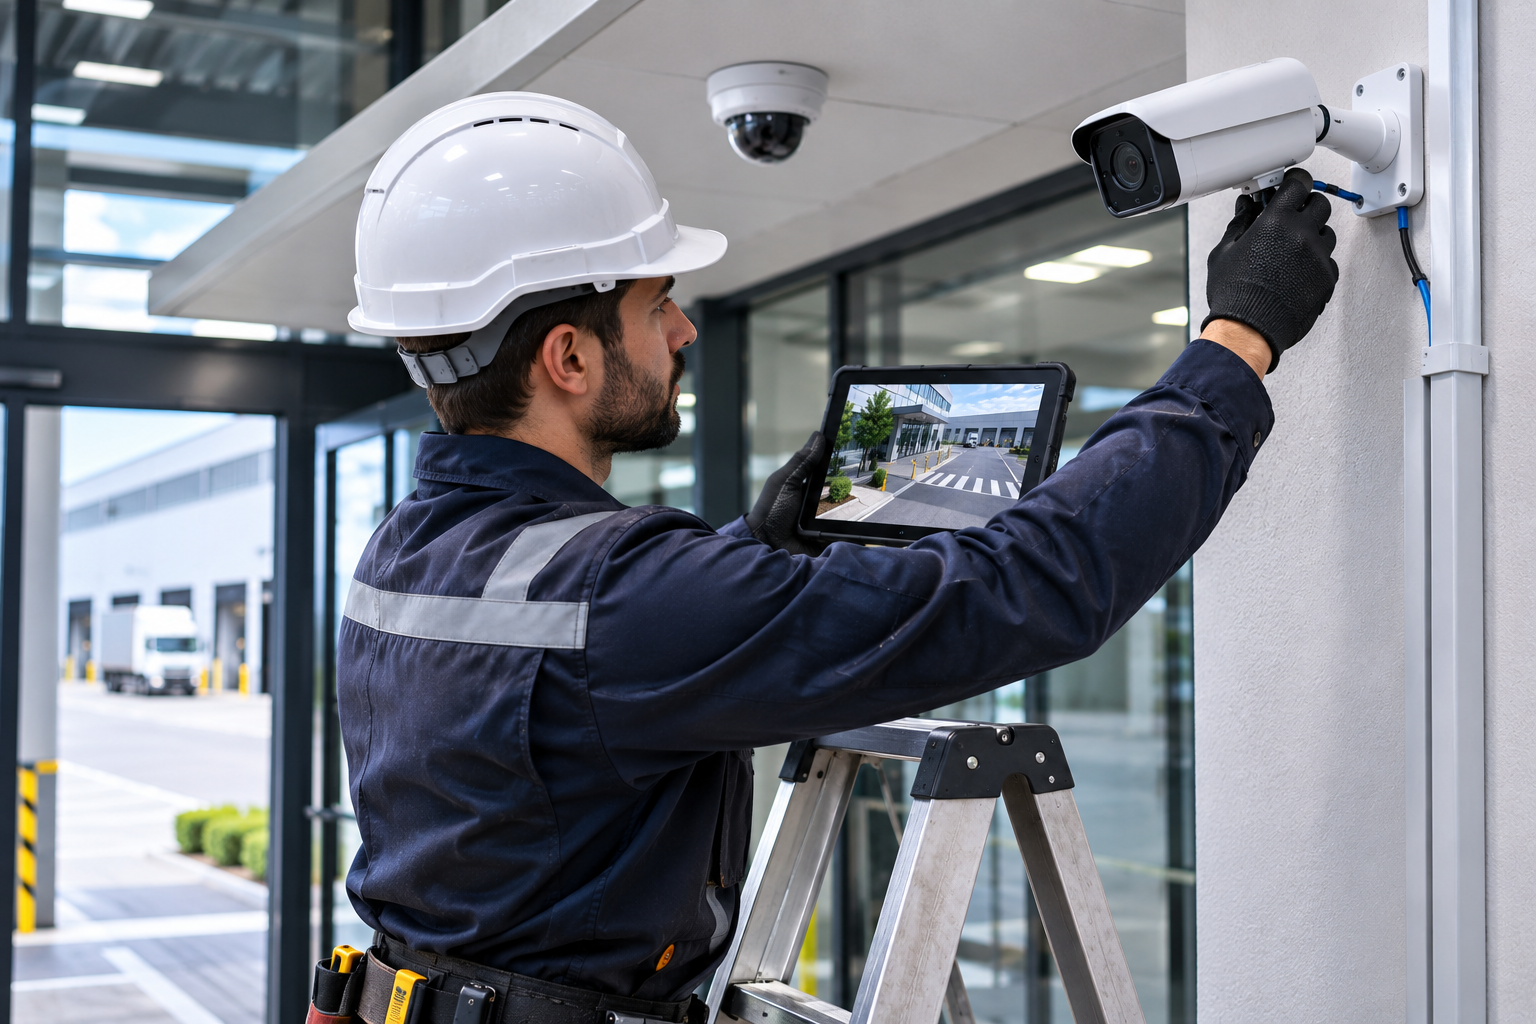
One of the most important factors determining image quality in security camera systems is the correct installation of the camera. An IP camera with high resolution and advanced features may not provide the expected security performance if positioned incorrectly.
For example, an 8-megapixel camera, when mounted with an incorrect viewing angle, might predominantly capture the top of a person's head at an entrance door instead of their face. Similarly, a camera that provides extremely clear images during the day might offer image quality too low to be usable at night due to infrared (IR) reflections.
Cabling, power supply, recording settings, and application errors in the network infrastructure can also lead to intermittent camera operation or image loss.
Therefore, professional security camera installation is a much more comprehensive engineering process than merely fixing the device to a wall or ceiling.
So, what are the most common mistakes made in camera installation? How do these errors affect image quality and system reliability? Which technical criteria should be evaluated for correct installation?
1. Incorrect Camera Mounting Height
One of the common mistakes in camera installation is determining the mounting height solely based on ease of access or physical security.
Mounting the camera too high can facilitate viewing a wide area in some applications. However, it can lead to a reduction in facial detail of individuals in the image.
For example, if sufficient detail of human faces is desired at a store entrance, mounting the camera too high and looking downwards may not be appropriate.
Conversely, different mounting heights may be preferred for perimeter security, wide-area surveillance, or specific industrial applications.
How to Determine the Correct Mounting Height?
Mounting height should be evaluated based on the following parameters:
The camera's viewing purpose.
Distance of the target object from the camera.
Camera lens's field of view.
Desired image detail.
Protection of the camera against vandalism.
Mounting and maintenance accessibility.
Physical obstacles and line of sight.
There is no single ideal mounting height applicable to all security cameras. The correct height should be determined based on the targeted security task and site conditions.
2. Incorrect Camera Angle Adjustment
Incorrect determination of the camera's direction and tilt can reduce the usability of the image for security purposes.
For example, pointing a camera at a building entrance downwards at an excessively steep angle might result in capturing more of the top of the entering person's head than their face.
Similarly, positioning a camera too obliquely at vehicle entrances can negatively affect license plate readability.How Should the Camera Angle Be Adjusted?
The target viewing area must be clearly defined.
Camera position and viewing angle towards the target should be evaluated.
The orientation of people, vehicles, or other targets in the image should be considered.
Unnecessary empty spaces in the image should be reduced.
Critical points should be verified through the actual camera view.
Especially in license plate recognition applications, horizontal and vertical camera angles, vehicle movement direction, and mounting distance should be evaluated together.
3. Incorrect Lens and Field of View Selection
One of the most common technical errors encountered in camera installation is selecting a lens unsuitable for the area to be viewed.
While wide-angle lenses can view a larger area, narrow-angle lenses can help increase image detail in a specific target region.
For example, a lens used to monitor a large factory site might not adequately show details at a distant vehicle entrance.
Similarly, when a narrow-angle lens is used, image detail may increase, but some areas that need monitoring might remain outside the camera's view.
Mistakes in Lens Selection
Deciding solely based on the lens's millimeter value.
Not considering the image sensor size.
Not measuring the target distance.
Not verifying the camera's field of view on site.
Not properly adjusting the varifocal lens after installation.
Correct lens selection requires a combined evaluation of camera resolution, sensor size, target distance, and desired image detail.
4. Camera Placement Without DORI and PPM Calculation
In professional CCTV projects, not only the width of the viewed area but also the pixel density in the target region is important.
PPM (Pixels Per Meter) refers to the number of horizontal pixels per meter of image width at a specific distance.
Basic calculation method:
PPM = Horizontal image resolution / Horizontal field of view width at target distance
For example, when two cameras with the same resolution are used with different lenses and mounting positions, the PPM values in the target area can vary significantly.
Why is DORI Analysis Necessary?
The classic DORI approach was used to evaluate the camera's image detail through operational levels such as Detection, Observation, Recognition, and Identification.
However, IEC 62676-4:2025 has updated the image detail classification with a new seven-level model.
In new projects, the applicable standard version and the targeted viewing task should be considered.
Failure to perform PPM calculation can result in the camera providing an image but failing to deliver the necessary security detail.
For detailed information, GüvenlikOnline's technical article titled What is DORI Analysis in Camera Systems? How is it Performed? can be reviewed.
5. Not Calculating Blind Spots in Camera Installation
One of the significant mistakes made in security camera placement is leaving gaps between the cameras' fields of view.
Especially in large factory sites, warehouses, parking lots, and shopping centers, preparing a layout plan by merely looking at the approximate viewing directions of cameras may not be sufficient.
How Do Blind Spots Occur?
Columns and walls obstructing the view.
Shelf and machine placements.
Insufficient camera viewing angle.
Inappropriate mounting height.
Vegetation and other physical obstacles.
Incorrect planning of camera fields of view.
How Can Blind Spots Be Prevented?
Before installation, a layout plan should be prepared, and the necessary camera fields of view should be evaluated.
Especially at critical points, multiple cameras may need to be positioned to complement each other.
However, unnecessarily viewing all areas with too many cameras is also not the correct approach.
The goal is to create a camera placement that is appropriate and proportionate to the security need.
6. Not Considering Sunlight and Backlighting
One of the significant consequences of incorrect camera positioning is that strong light sources negatively affect image quality.
For example, direct sunlight hitting the camera during the day can cause glare or loss of detail in certain parts of the image.
Similarly, at glass-fronted building entrances, the face of a person entering might appear dark due to strong outdoor light.
Does WDR Completely Solve This Problem?
WDR (Wide Dynamic Range) can help represent bright and dark areas in the image more balanced.
However, the presence of WDR technology does not eliminate all effects of incorrect camera placement.
Therefore, before mounting the camera, the sun's movement throughout the day and ambient lighting should be evaluated.
Correct camera placement is the fundamental step to be evaluated before software-based image enhancement.
7. Not Calculating IR Reflections in Night Vision
One of the common problems encountered in camera installation is a camera that provides clear images during the day but produces blurry or whitened images at night.
One significant reason for this is the reflection of infrared illumination from nearby surfaces.
This problem can particularly be seen in dome cameras with internal IR illuminators.
What Causes IR Reflection?
Positioning the camera too close to a wall or ceiling.
IR light hitting nearby surfaces.
Water droplets, dust, or dirt on the dome.
Incorrect placement of the light insulation part around the lens.
Glass surfaces in front of the camera.
Another illuminator reflecting into the camera housing.
Axis Communications' technical guide on IR reflections explains that especially nearby walls, bright surfaces, and dirt on the dome surface can seriously affect image quality.
How to Prevent IR Reflection?
The camera and IR illumination direction should be kept as far as possible from nearby reflective surfaces.
The manufacturer's specified lens insulation parts should be correctly positioned, and the housing should be properly closed.
If necessary, IR intensity or illumination area can be adjusted via manufacturer-supported settings.
Testing the night image after camera installation is extremely important for identifying IR-related errors.
8. Not Checking Camera Focus and Moving Image
When a camera is first installed, the image may appear clear. However, this image might have been evaluated only based on static objects.
Especially in low-light conditions, moving people or vehicles might appear blurry.
Reasons for this problem include:
Incorrect focus adjustment.
Inappropriate exposure time.
Insufficient lighting.
High speed of moving targets.
Dirt on optical surfaces.
Image processing settings.
After installation, not only the image of an empty area but also, if necessary, images of moving targets should be checked.
Especially for cameras using varifocal lenses, the final focus adjustment should be verified with the protective dome or front glass in place, according to the manufacturer's instructions.
9. Neglecting Water and Moisture Protection in Outdoor Cameras
Cameras with protection classes like IP66 or IP67 are designed to comply with specific environmental test conditions.
However, a camera having an outdoor protection class does not mean that all mounting connections are automatically protected against water.
Common Outdoor Installation Mistakes
Leaving cable connections exposed.
Using an inappropriate junction box.
Not adequately protecting cable entries.
Incorrect placement of gaskets.
Cable routes that cause water accumulation.
Making unauthorized modifications to the housing or mounting elements.
How to Perform Correct Outdoor Installation?
The camera, junction box, cable gland, and related mounting accessories should be evaluated as a whole.
Materials suitable for outdoor conditions should be selected, and the manufacturer's recommended sealing methods should be applied.
Appropriate cable routing and methods like drip loops, where necessary, can reduce the risk of water being carried to the connection point.
10. Cabling and Ethernet Connection Errors
In IP security cameras, the quality of the data connection directly affects the uninterrupted operation of the system.
Especially in projects with numerous cameras, incorrectly terminated cables and inappropriate cable routes can lead to connection problems.
Common Cabling Mistakes
Selecting cables unsuitable for application conditions.
Excessive bending or crushing of cables.
Incorrect termination of RJ45 connectors.
Not evaluating cable length and connection losses.
Ignoring the risk of electromagnetic interference.
Using unsuitable cables and connection materials outdoors.
Delivering cables without testing.
Especially in industrial facilities, the routes of power cables and data cables should be planned according to relevant electrical safety and communication standards.
If fiber optic infrastructure is used, optical connection losses and related equipment compatibility should also be checked.
Cabling is not merely an auxiliary element providing data transmission but a fundamental infrastructure determining the performance of the CCTV system.
11. Incorrect PoE Power Budget Calculation
A significant portion of IP cameras can be powered via PoE (Power over Ethernet) technology.
However, not all IP cameras have the same power consumption.
Especially PTZ movement mechanisms, IR illuminators, motorized lenses, and heaters can increase the camera's energy demand.
Common Mistakes in PoE Installation
Not examining the camera's maximum power requirement.
Not calculating the switch's total PoE budget.
Not considering power losses over the cable.
Using incompatible PoE hardware.
Ignoring the increase in power consumption when IR illumination activates at night.
For example, a camera operating normally during the day might restart due to insufficient power when IR or heater functions activate at night.
Therefore, the system's power capacity should be calculated by considering not only the typical but also the maximum power requirements of the devices under relevant operating conditions.
12. Neglecting Grounding and Surge Protection
In outdoor camera systems, electrical transient voltages can be significant sources of failure.
Effects of lightning, switching events in the power system, or improper electrical connections can damage electronic devices.
Therefore, in relevant projects:
Grounding and equipotential bonding.
Appropriate surge protection devices.
Cable shielding and connection method.
Routing of power and data lines.
Manufacturer's installation and protection instructions.
should be evaluated together.
The same cable shielding or protection method may not be used in every application.
Electrical protection design should be carried out by competent personnel in accordance with relevant standards and the manufacturer's product-specific requirements.
13. Disregarding Mechanical Durability in Camera Installation
The camera mounting point must safely support the device's weight and mechanical stresses in the operating environment.
Especially in pole, bracket, steel construction, and high-facade applications, vibration or loose connections can negatively affect the image.
Common Mechanical Mistakes
Using inappropriate anchors and fasteners.
Not evaluating the load-bearing capacity of the mounting surface.
Not considering pole and bracket vibrations.
Using mounting materials unsuitable for corrosion.
Mounting heavy PTZ cameras with insufficient supports.
Mounting equipment should be determined based on the camera model, surface characteristics, and environmental conditions.
Factors such as wind load and vibration can become important in large camera housings or pole applications.
14. Neglecting Artificial Intelligence and Video Analytics Installation Criteria
The use of AI-powered cameras does not mean that the same analytical performance will be achieved at all mounting points.
Functions such as virtual line crossing, human and vehicle classification, people counting, or license plate recognition may require different viewing geometries.
For example, a people counting camera, in certain systems, should view the entrance area from as high as possible and at an appropriate angle.
Conversely, the positioning of a camera used for facial detail or license plate viewing might be different.
What to Consider in AI Installation?
Manufacturer's recommended mounting conditions.
Target object dimensions and distances.
Camera viewing angle.
Detection zone and virtual line positions.
Lighting and shadowing.
Physical obstacles.
False alarm and missed event performance.
Analytical accuracy should not be evaluated solely based on the general camera view.
The system's actual detection behavior should be verified with controlled test scenarios after installation.
15. Not Performing Recording and Commissioning Tests After Installation
One of the most critical mistakes made in camera installation is assuming the system is complete once the camera's image is displayed.
However, in a professional installation process, the camera, recording system, and network infrastructure must work together.
What Should Be Tested After Installation?
The camera producing a correct image.
Achieving the required image resolution.
The NVR or VMS recording the correct video stream.
The recording schedule being correctly set.
Date and time synchronization.
Playback of past recordings.
Verification of day and night images.
Operating behavior after power and connection outages.
Functionality of analytical events and necessary alarm notifications.
User permissions and basic cybersecurity settings.
A camera being displayed on an NVR screen does not mean that a high-quality main stream is being recorded.
For example, recording with a low-resolution sub-stream used for monitoring can lead to insufficient image detail during post-event reviews.
Therefore, recording resolution, bit rate, and playback quality should also be verified.
16. Not Considering KVKK and Privacy in Camera Placement
Camera installation is not merely a technical process.
Viewed areas should also be evaluated in terms of personal data protection and privacy.
The Personal Data Protection Authority (KVKK), in its 2026 public statement regarding the use of security cameras in workplaces, drew attention to camera placement, viewing angle, proportionality, and personal data security issues.
Especially:
Not viewing private areas such as toilets and changing rooms.
Pre-determining the purpose of camera use.
Avoiding unnecessary and disproportionate surveillance.
Properly informing relevant individuals.
Restricting access to recordings.
Determining storage periods in accordance with the purpose and applicable legislation.
are important.
Unnecessary viewing of neighboring properties or areas unrelated to the intended purpose should be avoided.
It should not be assumed that every area technically viewable by the camera is legally appropriate to record.
Comparison of Camera Installation Errors and Correct Practices
| Common installation error | Possible outcome | Correct approach |
|---|---|---|
| Excessively high mounting | Insufficient facial detail | Height and angle appropriate for the task |
| Incorrect lens | Blind spot or low PPM | Lens and field of view calculation |
| Incorrect focus | Blurry image | Focus test during final installation |
| Backlight | Glare and loss of detail | Location, light, and WDR evaluation |
| IR reflection | Whitening in night image | IR and housing control |
| Exposed cable connection | Moisture and connection failure | Appropriate outdoor connections |
| Insufficient PoE | Interruption and restart | Maximum power budget calculation |
| Insufficient mechanical fastening | Vibration or physical damage | Appropriate supports and connections |
| Incorrect analytics angle | Missed or false events | Test according to manufacturer criteria |
| Failure to perform recording test | Undetected recording loss | Playback and recording verification |
This table has been prepared for general technical evaluation purposes. Final installation criteria depend on the camera model used, site conditions, and applicable standards.
How Should Professional Camera Installation Be Performed?
For correct camera installation, a systematic application process should be followed.
1. Site Survey and Determination of Security Needs
It is determined which area the camera needs to view, from what distance, and at what level of detail.
2. Planning Camera Positions and Lenses
Camera mounting points, viewing angles, target distances, lighting conditions, and required pixel density are evaluated.
3. Preparation of Cabling and Power Infrastructure
Camera connection lines, PoE power capacity, network equipment, and electrical protection requirements are planned.
4. Execution of Mechanical Installation
The camera and connection equipment are mounted using appropriate supports. Cable entries and housing integrity are checked.
5. Configuration of Image and Analytics Settings
Lens, focus, exposure, WDR, night vision, and necessary video analytics settings are configured.
6. Commissioning and Function Tests
Camera images, recording system, connections, night performance, and necessary alarm functions are verified.
7. Project Handover and Documentation
As-built drawings, camera list, device locations, network configuration, recording settings, and commissioning test results are documented.
The IEC 62676-4:2025 standard is an important international technical reference for the planning, design, installation, testing, commissioning, and maintenance processes of video surveillance systems.
Technical Checklist for Camera Installation
Is the camera's viewing purpose clearly defined?
Are the mounting height and viewing angle appropriate?
Have lens and target distance calculations been made?
Has the required image detail been evaluated?
Have blind spots been checked?
Have the effects of sunlight and backlighting been examined?
Have night vision and IR reflections been tested?
Have focus and moving image quality been verified?
Are camera mounting connections secure?
Are outdoor connections protected against water and moisture?
Have Ethernet and fiber connections been tested?
Are the PoE power budget and energy infrastructure sufficient?
Have necessary electrical protection measures been applied?
Have video analytics features been tested under site conditions?
Are NVR/VMS recording settings verified?
Have past recordings been checked by playback?
Is camera placement compliant with KVKK and privacy requirements?
Has the installation and commissioning test report been prepared?
This checklist has been prepared for technical quality evaluation. It does not replace product-specific installation instructions, occupational safety requirements, or professional engineering design.
Frequently Asked Questions
How high should a security camera be mounted?
There is no single ideal mounting height applicable to every camera. The height should be determined based on the desired image detail, lens angle, target distance, and security purpose.
Does camera height affect image quality?
Yes. Increasing the mounting height can change the viewing angle and distance between the camera and the target. This can particularly affect the viewing of human faces or specific object details.
Kamera montajında 2,8 mm lens mi, 4 mm lens mi tercih edilmeli?
The choice depends on the camera's sensor size, the width of the area to be viewed, and the target distance. When used with the same sensor, a shorter focal length generally provides a wider field of view.
Why is the camera clear during the day but blurry at night?
Low light, long exposure time, IR reflection, lens contamination, focus issues, or insufficient lighting can affect night image quality.
Why does the IP camera constantly lose connection?
Incorrect cable termination, insufficient PoE power, network problems, power outages, or device malfunctions can cause connection loss. The source of the problem should be identified through measurements and log records.
Can an IP67 camera be mounted directly outdoors?
The IP67 rating refers to specific dust and water protection conditions. However, cable connections, the junction box, and other components must also be suitable for outdoor conditions.
What tests should be performed after camera installation?
Image quality, night vision, focus, recording continuity, playback of past recordings, network connections, and necessary alarm/analytics functions should be checked.
Is DORI analysis mandatory for camera installation?
There is no general and universally applicable DORI calculation requirement for every camera installation. However, in professional projects, determining and verifying the necessary image detail is important for correct system design.
Conclusion: Correct Camera Installation is the Foundation of a Reliable CCTV System
Small mistakes made in security camera installation can significantly affect image quality and system reliability.
Incorrect mounting height, inappropriate lens selection, IR reflections in night vision, faulty cabling, insufficient PoE capacity, and incomplete commissioning tests are significant problems encountered in the field.
To prevent these errors, attention should be paid not only to device features but also to the conditions of the actual environment where the installation is performed.
A successful CCTV installation requires a combination of correct site survey, proper camera positioning, appropriate lens selection, reliable cabling, image verification, and recording tests.
In professional security camera projects, the goal is not merely to ensure the camera operates, but to ensure it produces the correct image at the required point, records it reliably, and keeps it accessible when needed.